There are those of you who remember, and even those who still keep this tradition alive. Our mothers and grandmothers knew the day the milkman would come, and they would prepare the pots in the house one by one. The milkman's voice would be heard in the early hours of the morning, and all the neighbors would fill their fresh milk by the kilo or two. That milk would be boiled to perfection, fermented into yogurt, curdled and served on our tables as delicious cheeses.
The taste of yogurt and cheese made from fresh milk is still on our palates. Especially those fresh cheeses with the smell of milk... This tradition has been forgotten a bit lately, and our tables are filled with more industrial cheeses. But none of them can replace those cheeses. So come on, let's start making our own cheese at home. No, no, don't be afraid. We will share everything with you one by one, from the most basic cheese making to milk selection, and as we progress a little further, from kashar cheese to curd cheese.
So let's start making delicious cheeses that will make you proud to say "I made them"!

Raw or pasteurized: How important is the choice of milk?
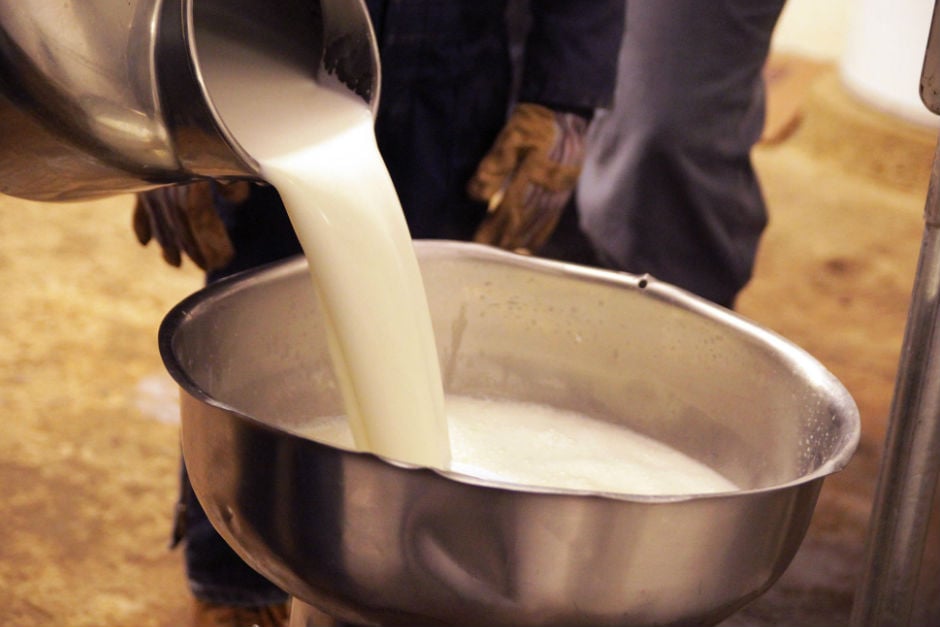
Before we start making cheese, we want to clarify one of the most curious topics. One of the most asked questions when making cheese and when fermenting yogurt is "Pasteurized milk or raw milk?" Our preference is to use raw milk. Because raw milk is structurally more suitable for cheese making. Pasteurized milk is milk that is free of all microbes and has a longer shelf life, but it goes through many processes and undergoes certain structural changes. For this reason, it becomes a bit more difficult for the yeast to take hold or to make cheese without yeast.
The most logical method would be to use milk from places you trust, that you are sure is fresh, by pasteurizing it at home. Therefore, if you want to make cheese at home, have fresh, raw milk on hand. You can easily achieve the results you want with raw milk. You may be disappointed when performing these processes with pasteurized milk.
You have two options: Can cheese be made without yeast?

Before moving on to cheese making, we would like to clarify one more issue. When making cheese at home, you can obtain your cheese in two different ways. You can prepare your cheese using yeast or without yeast. When you are going to use yeast, you can ask for "rennet" from a relative you trust who has yeast or from shops that sell local or organic products. If you want to make it without yeast, the process will take a little longer. In this case, you will need to use ingredients such as whey, lemon or vinegar.
So don't worry if you don't have yeast. It is possible to make delicious cheese that way. If you have yeast, you can make delicious cheese with peace of mind and in a more practical way. However, be careful about the yeast. Definitely prefer healthy, unspoiled yeast that has been stored under the right conditions. Now that we know this, let's start making cheese...
Let's start with the most classic: How to make cottage cheese at home?

Goat Curd Recipe
Sometimes, due to the structure of the milk and the unbalanced temperature, our milk curdles while boiling. The milk is not poured at this stage, and delicious curd cheeses are made from them. Curd cheese has less calories than other cheeses because it contains less fat. Especially for those who are on a diet and want to keep their weight under control, consuming curd cheese will be a delicious choice. Let's come to how it is made. The process begins with the curdling of the milk. Let's start by listing our ingredients:
Ingredients: (For about 150-200 grams)
How to make: Pour your milk into a deep pot and start boiling it on low heat. Let your milk start to boil. Then add lemon juice or vinegar and stir. You will start to observe curds and fragments in your milk. After you start to see these curds, boil it for a few more minutes. Start collecting the cheeses to the side with the help of a colander. After collecting all the cheeses to one side, place them on a clean cheesecloth. Place a strainer under the cheesecloth. Place the strainer and cheesecloth over a deep bowl. Squeeze the water well. Leave it in the cheesecloth until all the water is drained. Add salt at this stage if you want to sweeten it.
When all the water is drained, your curd cheese is ready. You can store the curd cheese in a covered container and store it in the refrigerator. You can consume it with pleasure by flavoring it with ingredients such as olive oil and thyme. Since it does not contain any preservatives, we recommend that you consume it within a few days. You can also use the remaining water in the pot as whey by transferring it into a jar for your next cheese productions.
It's not as difficult as you think: How to make white cheese at home?
Now let's come to the preparation of white cheeses that each of us enjoys for breakfast, and that go very well with pastries and salads. Let's say from the outset that they will have a harder consistency and a rawer taste compared to the ones we buy from outside. Here's what you need to prepare this delicious beauty:
Materials:
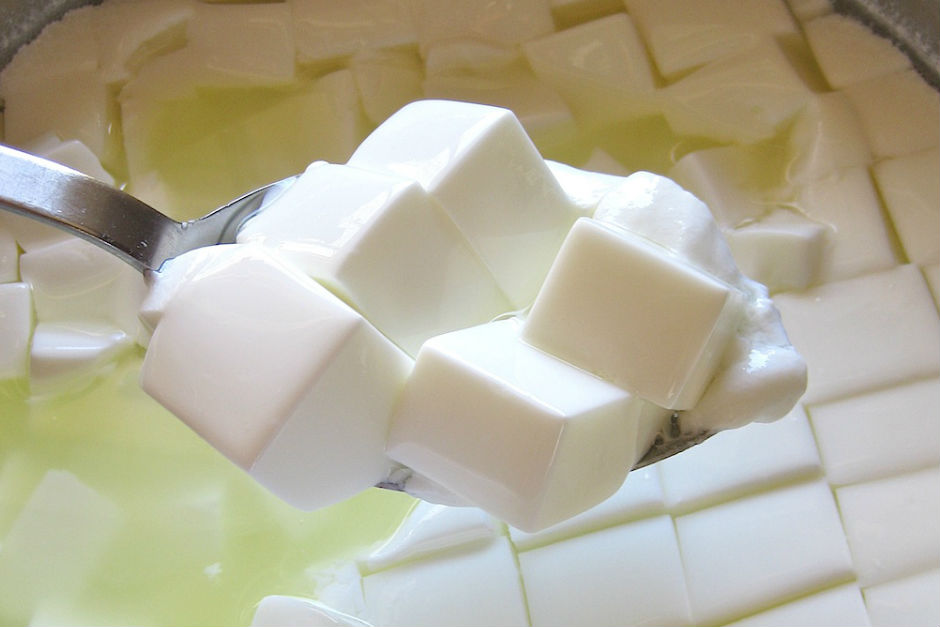
How to make : Put your milk on the stove. Start boiling it on low heat. After it boils, remove it from the stove. If you have one, measure it with a thermometer and wait for it to reach 35-37 degrees. Then add the rennet. Mix well. Close the lid and wrap it well with a cloth or sheet. Ferment for about 1.5 hours at room temperature.
To understand that it has fermented, it will be enough to open the lid of the pot and shake it slightly or dip your little finger into the milk. If it has a thicker consistency than yogurt, it means it is done. Using a knife, make small squares by making light cuts. Let it sit like this again for about 1 hour.
Then, place your cheeses on a clean cheesecloth. Hang them somewhere to drain off excess water. Place a bowl underneath. Let them rest for 3-4 hours. Then, take them out of the cheesecloth. Knead them lightly on the counter and place them between two heavy bowls. Let them rest for 3-4 hours.
Then cut into large pieces. Prepare a brine with salt and water and transfer the cheeses into it. Close the lid of the container and put it in the refrigerator to mature. After a few days, you can take out the amount of brine you want and enjoy.
Let's make things a little more professional: How to make cheddar cheese at home?

Homemade Kashar Cheese Recipe
We start making kashar cheese by following all the steps we apply in making white cheese. After the first fermentation, also perform the stage where we cut into cubes. Then fill half of a deep and large pot with water. Heat the water to 70-75 degrees and then add your cubed yeast cheeses.
Mix well. Stick the cheeses together nicely in the water with a wooden spoon, make sure they become a whole. Put the cheeses that have become a whole on the wire strainer. Then, while the cheeses are still hot, shape them into rounds and place them on the cutting board, knead well for a few minutes. Let the excess water drain and let it cool. Place it in a round and deep bowl to take shape.
After resting it for 3-4 hours, consume it with pleasure. You can store your kashar cheese in the refrigerator by wrapping it with stretch film.
Now you know how to make delicious cheeses that will brighten up your breakfast tables and beautify all your meals and recipes, from your pitas to your sandwiches. Get the milk as soon as possible and start making cheese at home!
Comments
Post a Comment